Hey friends! I’m going trough a stressful phase at the moment and still haven’t finished a few posts that I’ve wanted to publish a long time ago. But I still thought it would be nice to share a DIY project with you that I recently made for my mom’s birthday, in case some of you are in desperate need of a Christmas gift idea!
So, I’ve actually made this gift twice already for my mom: the first one was six years ago and Mama enjoys it so much that she has requested new versions every three years!
This gift is a three-year gratitude calendar or journal if you will. I made a box with a sheet of paper for each day of the year, each sheet includes that day over the next three years. The person you give this to is asked to write down one thing each day that he or she is grateful for. Over the years, the sheets fill with over one thousand things that they’re thankful for! My mom uses the calendar more like a diary than purely as a gratitude tracker, so she writes down memories and other stuff and really enjoys looking back over the years on everything that has happened.
Want to make the calendar for a close friend or family member or just for yourself? Here’s what you’ll have to do:
Step 1. Create a sheet in your text program of choice (e.g. Microsoft Word) and divide it into as many separate single-day sheets as can fit on the page (I did this by choosing minimal margins and creating a table with two rows and three columns). My A4 sheet fit six days comfortably. Type in the next three years into each cell, leaving space under each year to write in. Here’s what my layout looked like:
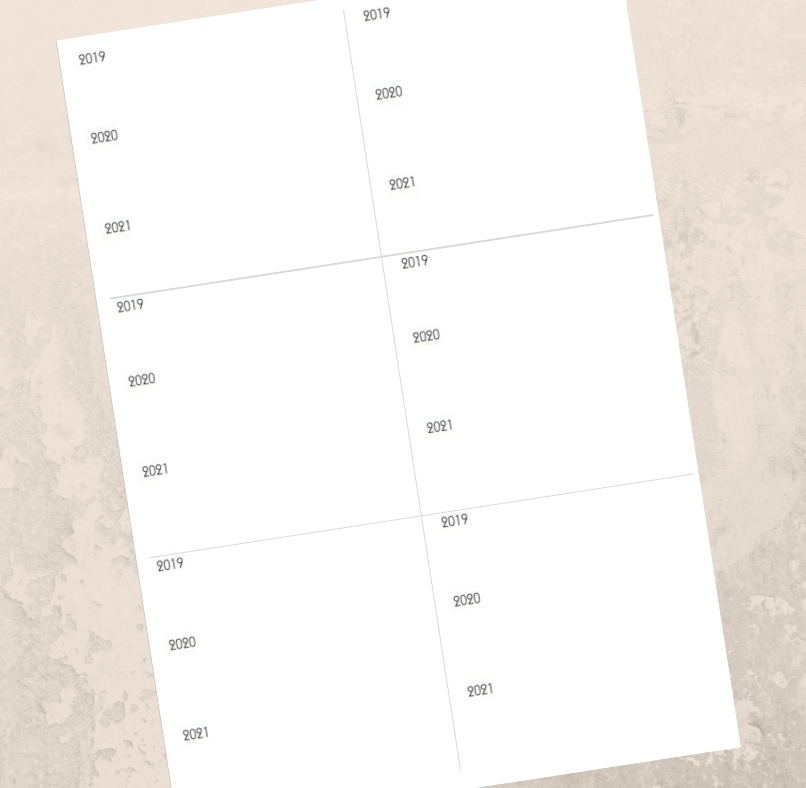
If you don’t know where to start, leave me a comment below and I can send you my document that you can then adjust to your paper dimensions and other preferences!
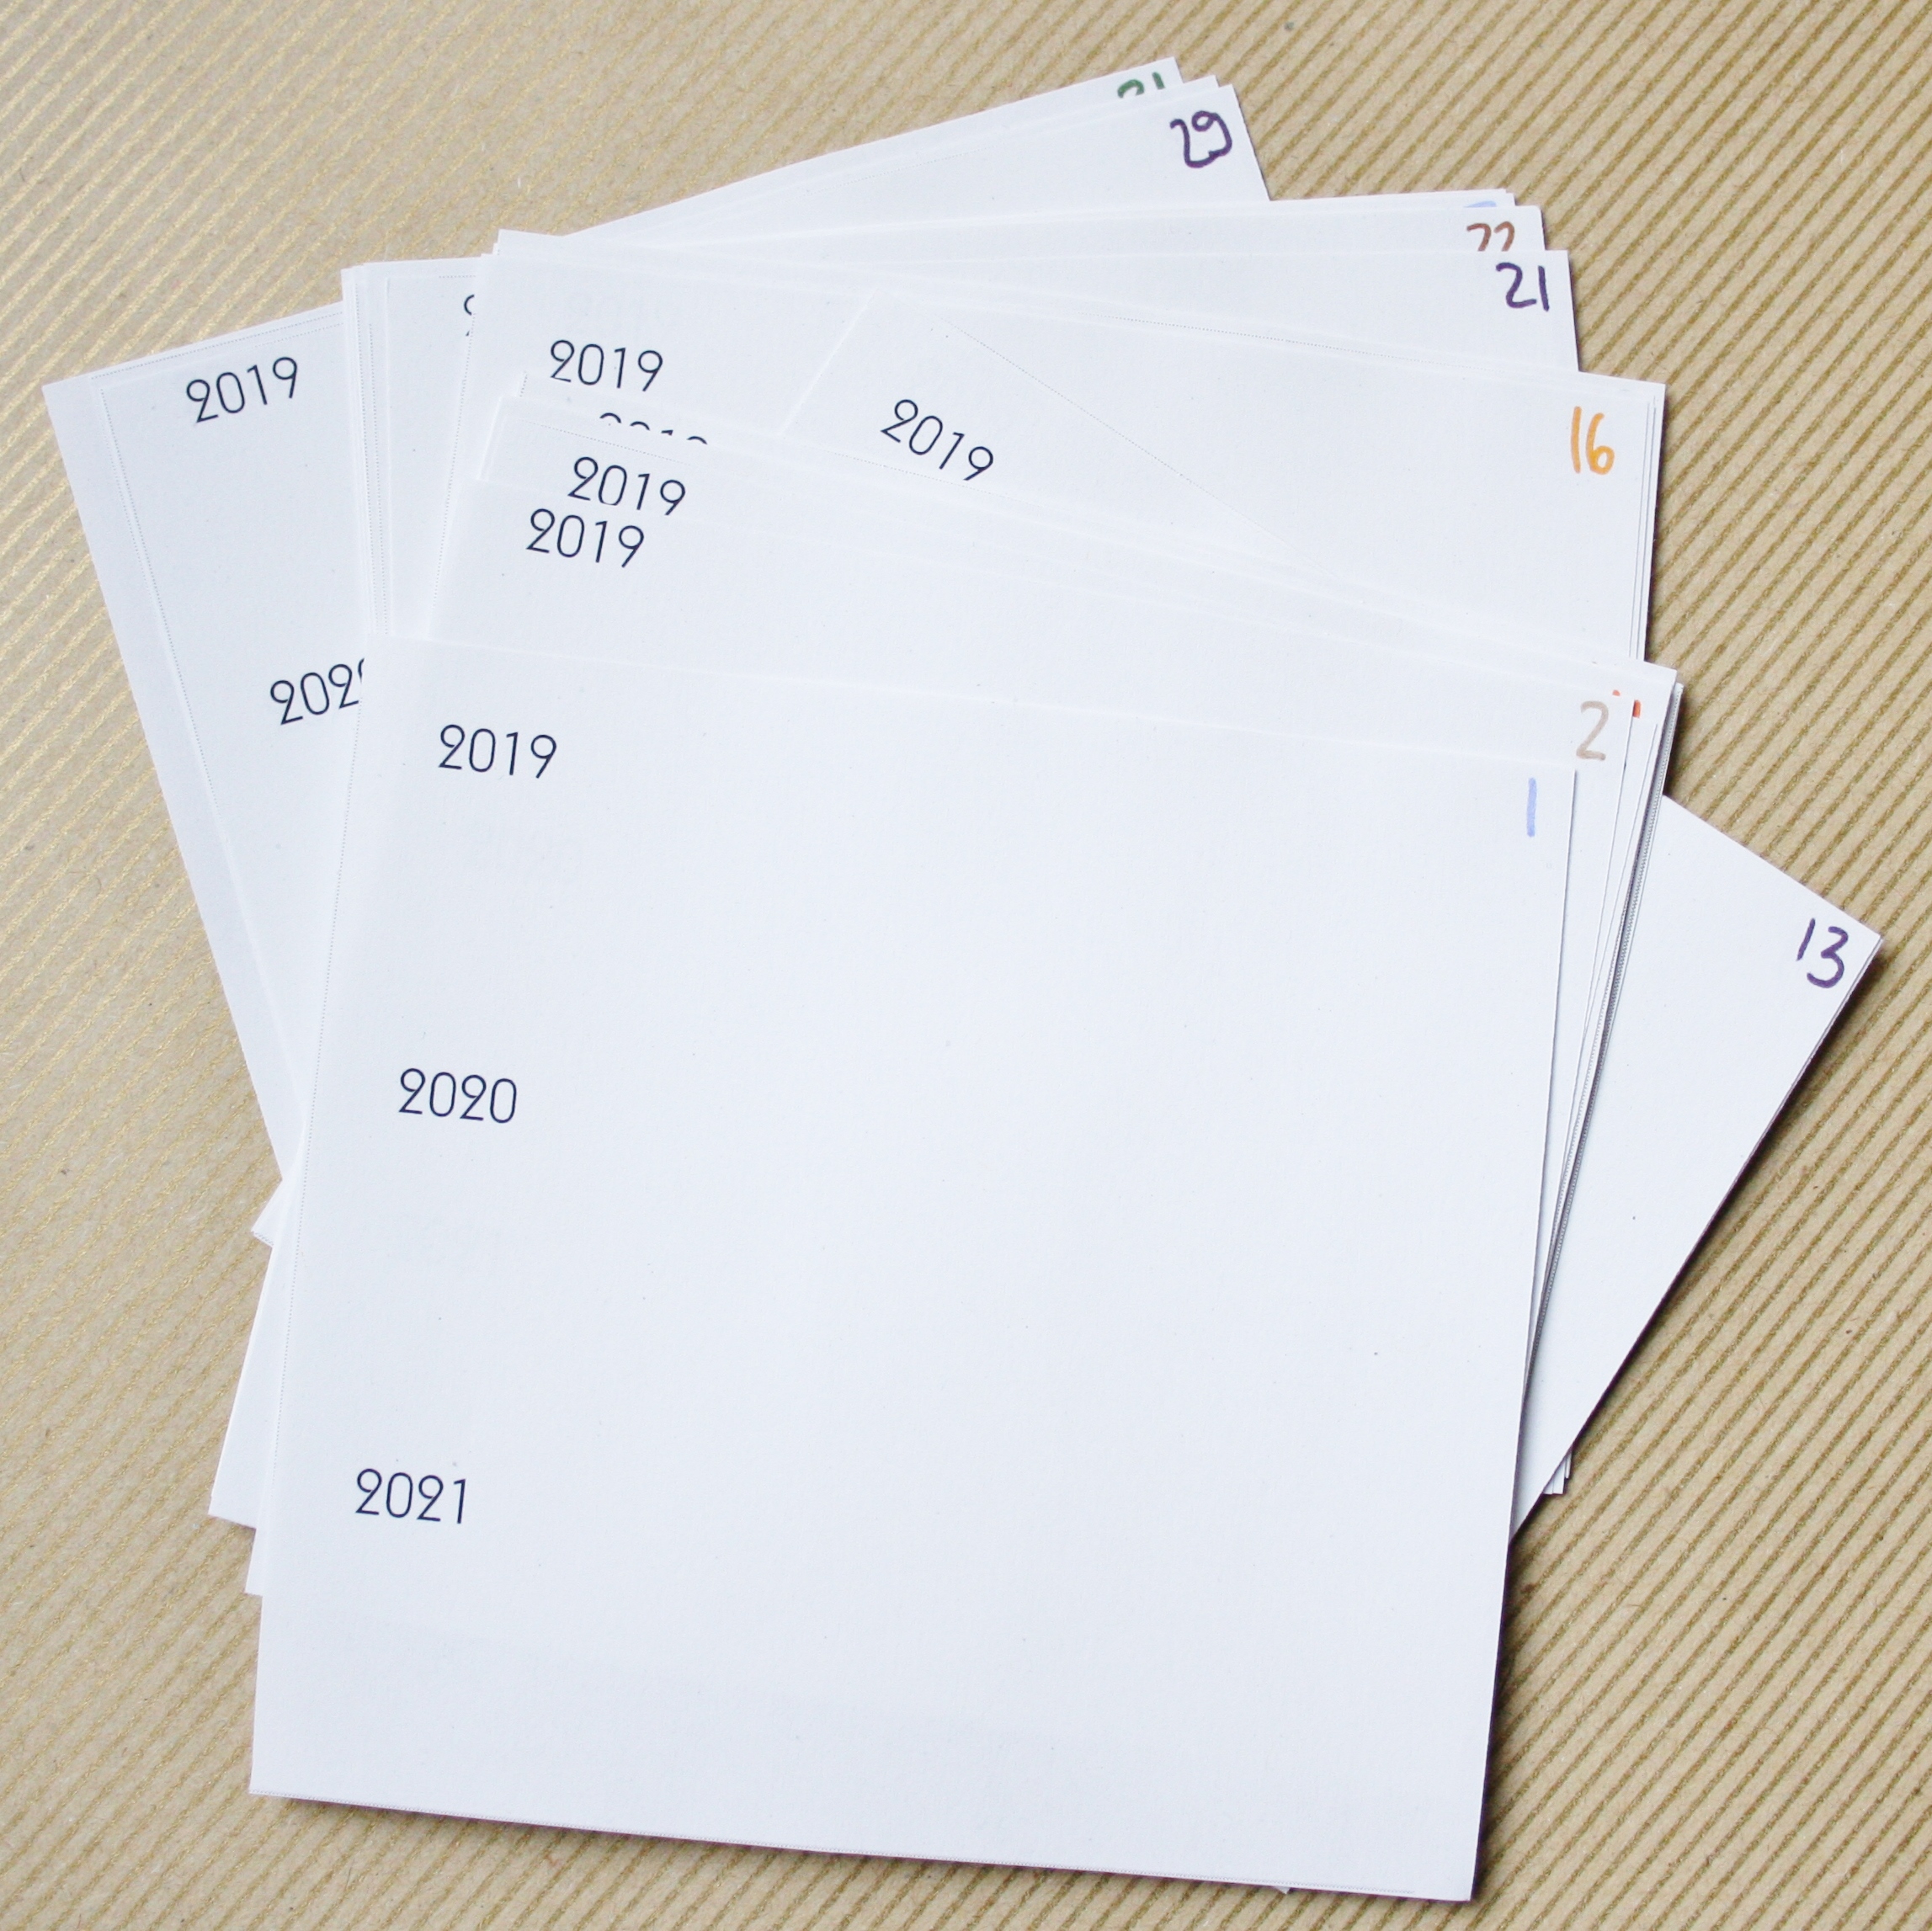
Step 2. Print out as many sheets as you need to get 365 day sheets. Cut them out. This takes a while, feel free to do this while listening to an audio book or podcast or watching a show in the background 😉
Step 3. Write in the date of each day into the corners of the sheets:
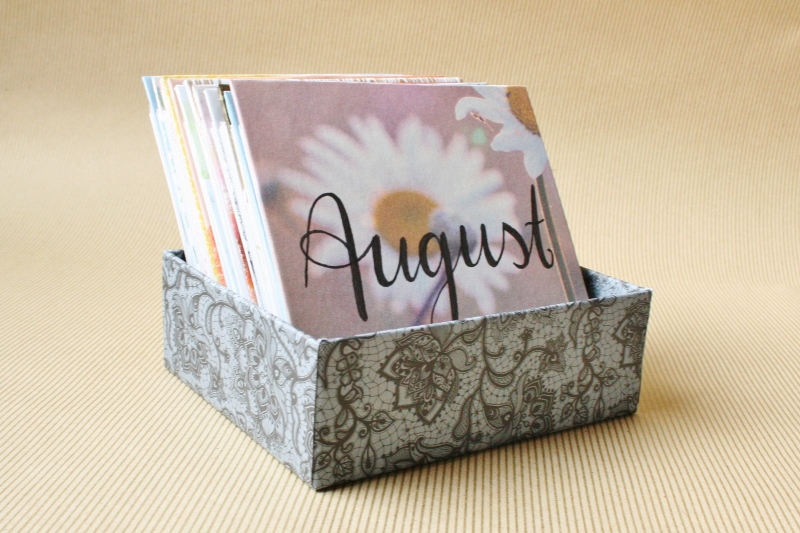
Step 4. Create dividers for every month. I cut down scraps of cardboard to the size of the day sheets with an additional 0.5 to 1 cm (about a third of an inch) on the top. That way, you can flip through the months easily without having to deal with all the daily sheets.
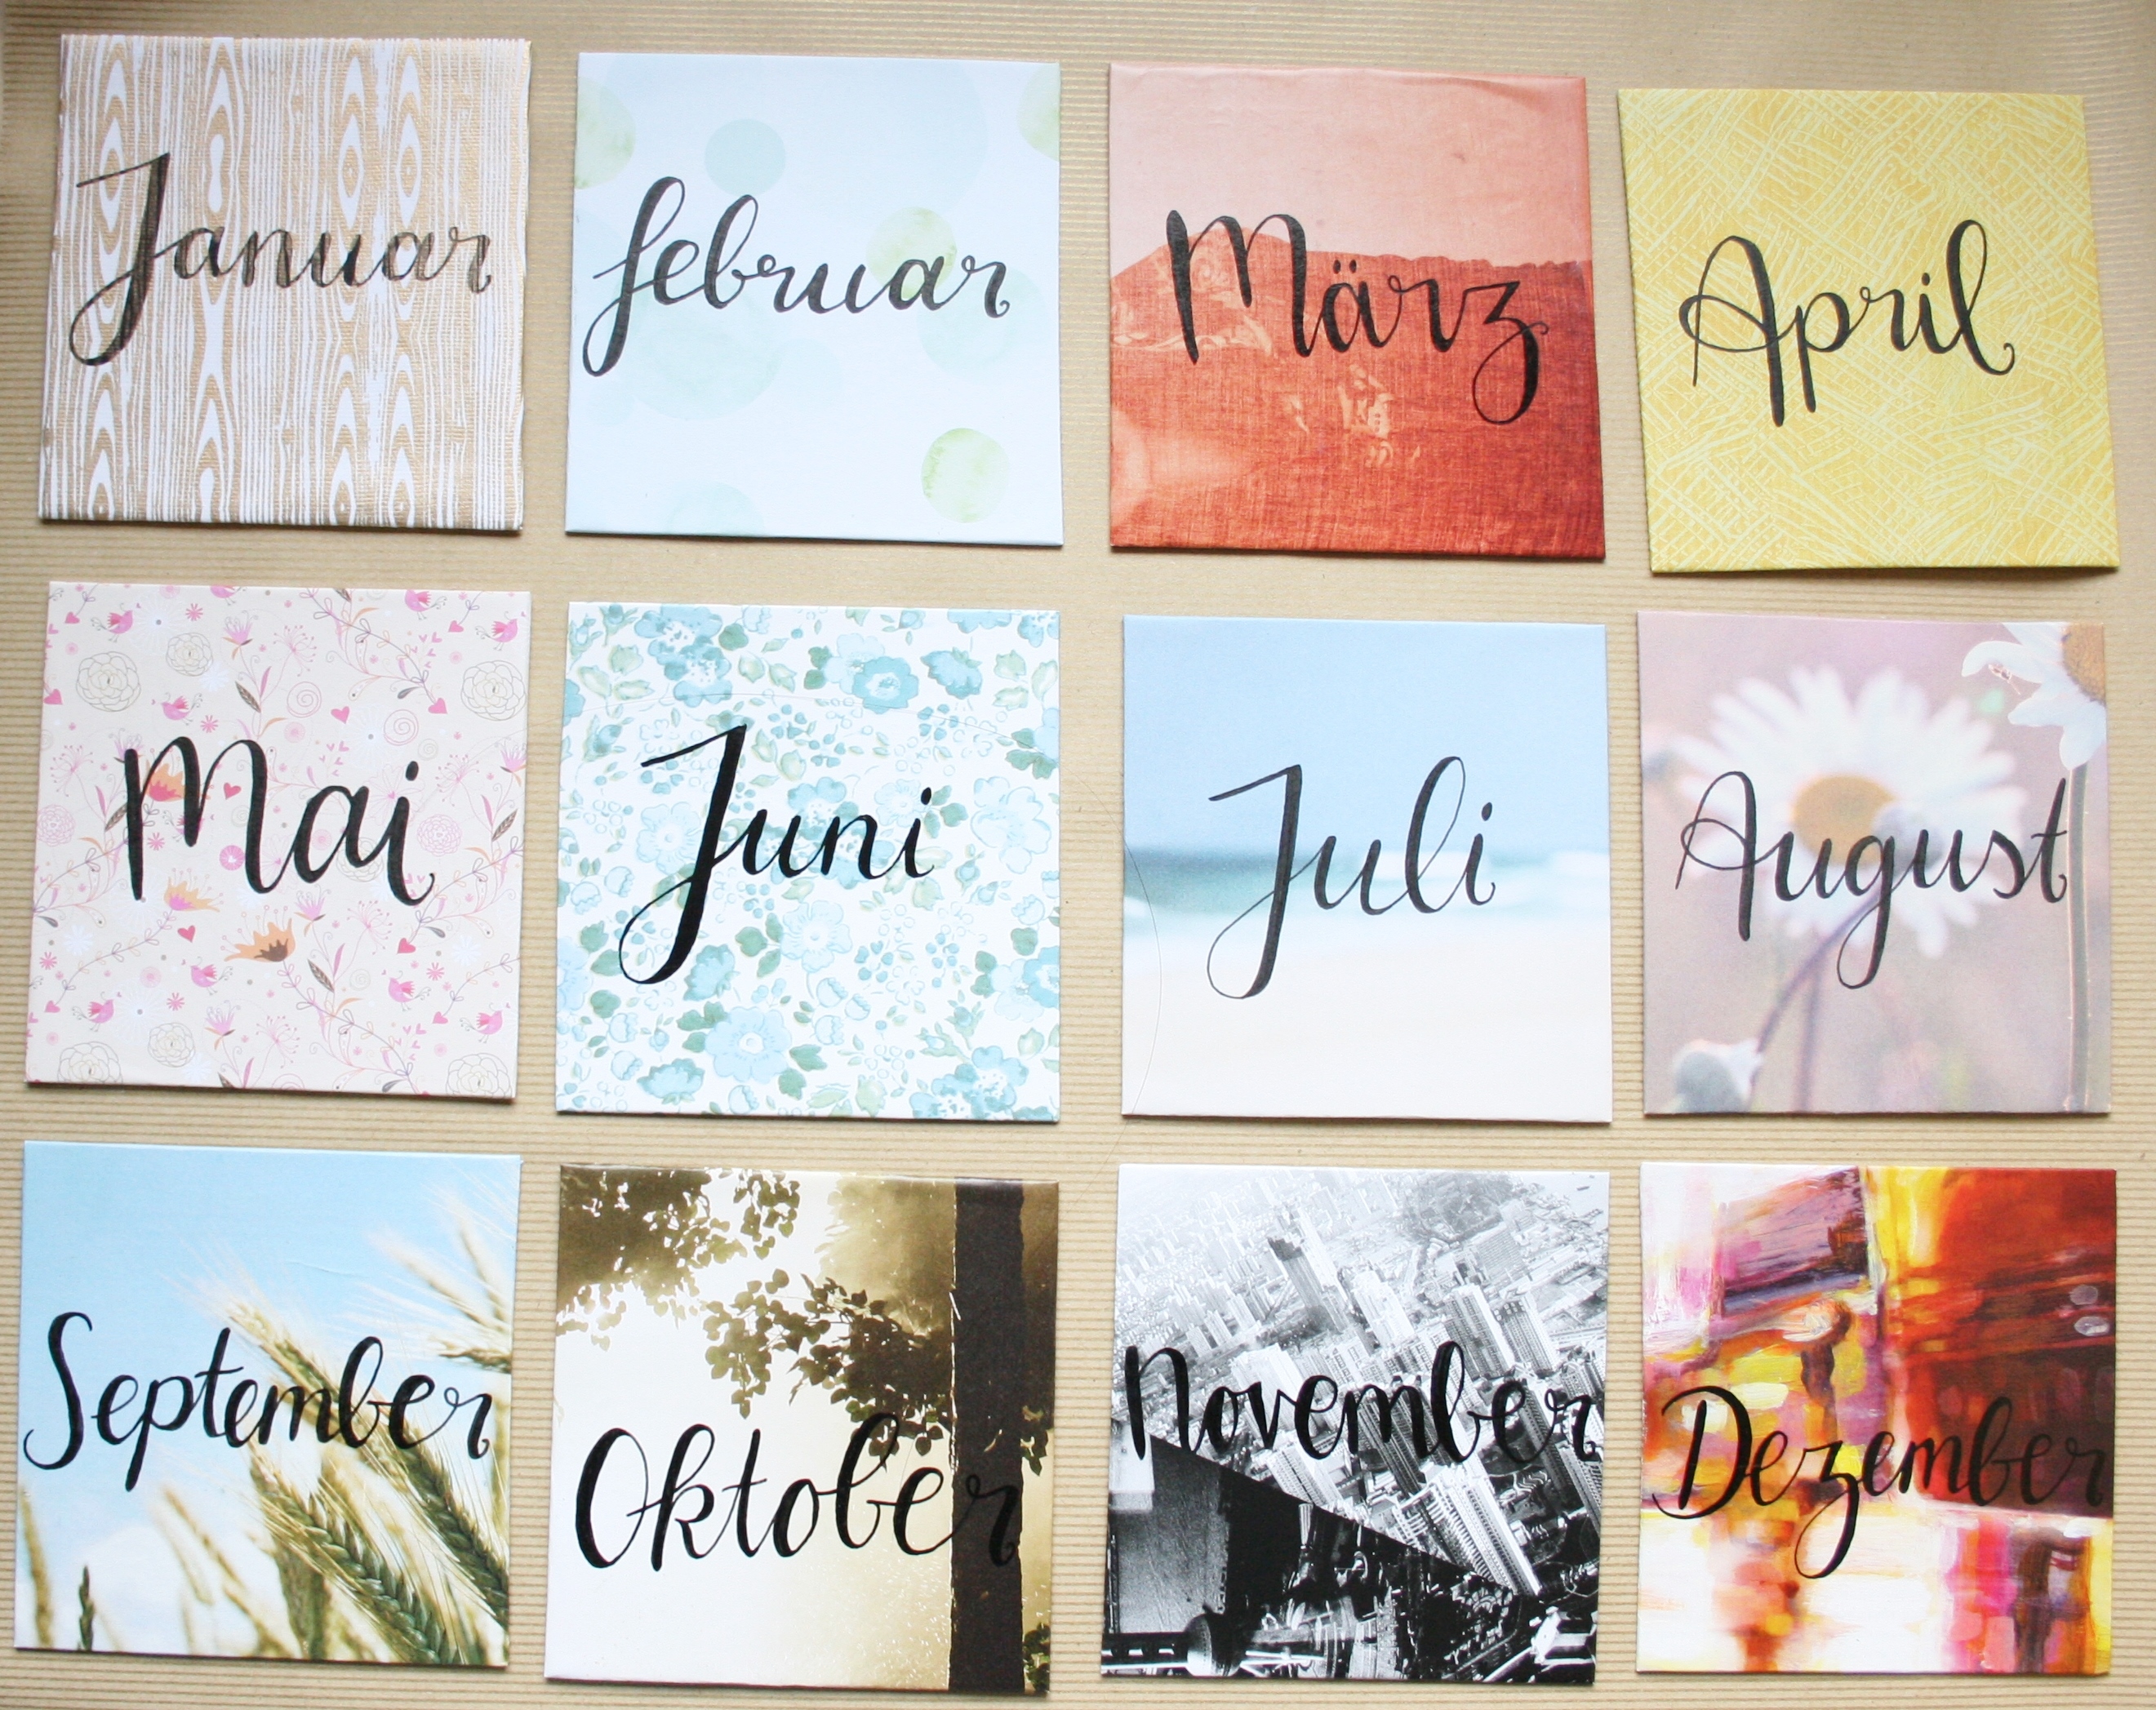
I painted the back of the cardboard scraps a solid white and then glued scraps of pretty paper to the front, folding it around the edges and securing it in place with tape like this:

The pieces of paper that I used were cut-outs from magazines and flyers, origami paper, wrapping paper, and scrapbook paper. You can get crazy creative here 🙂
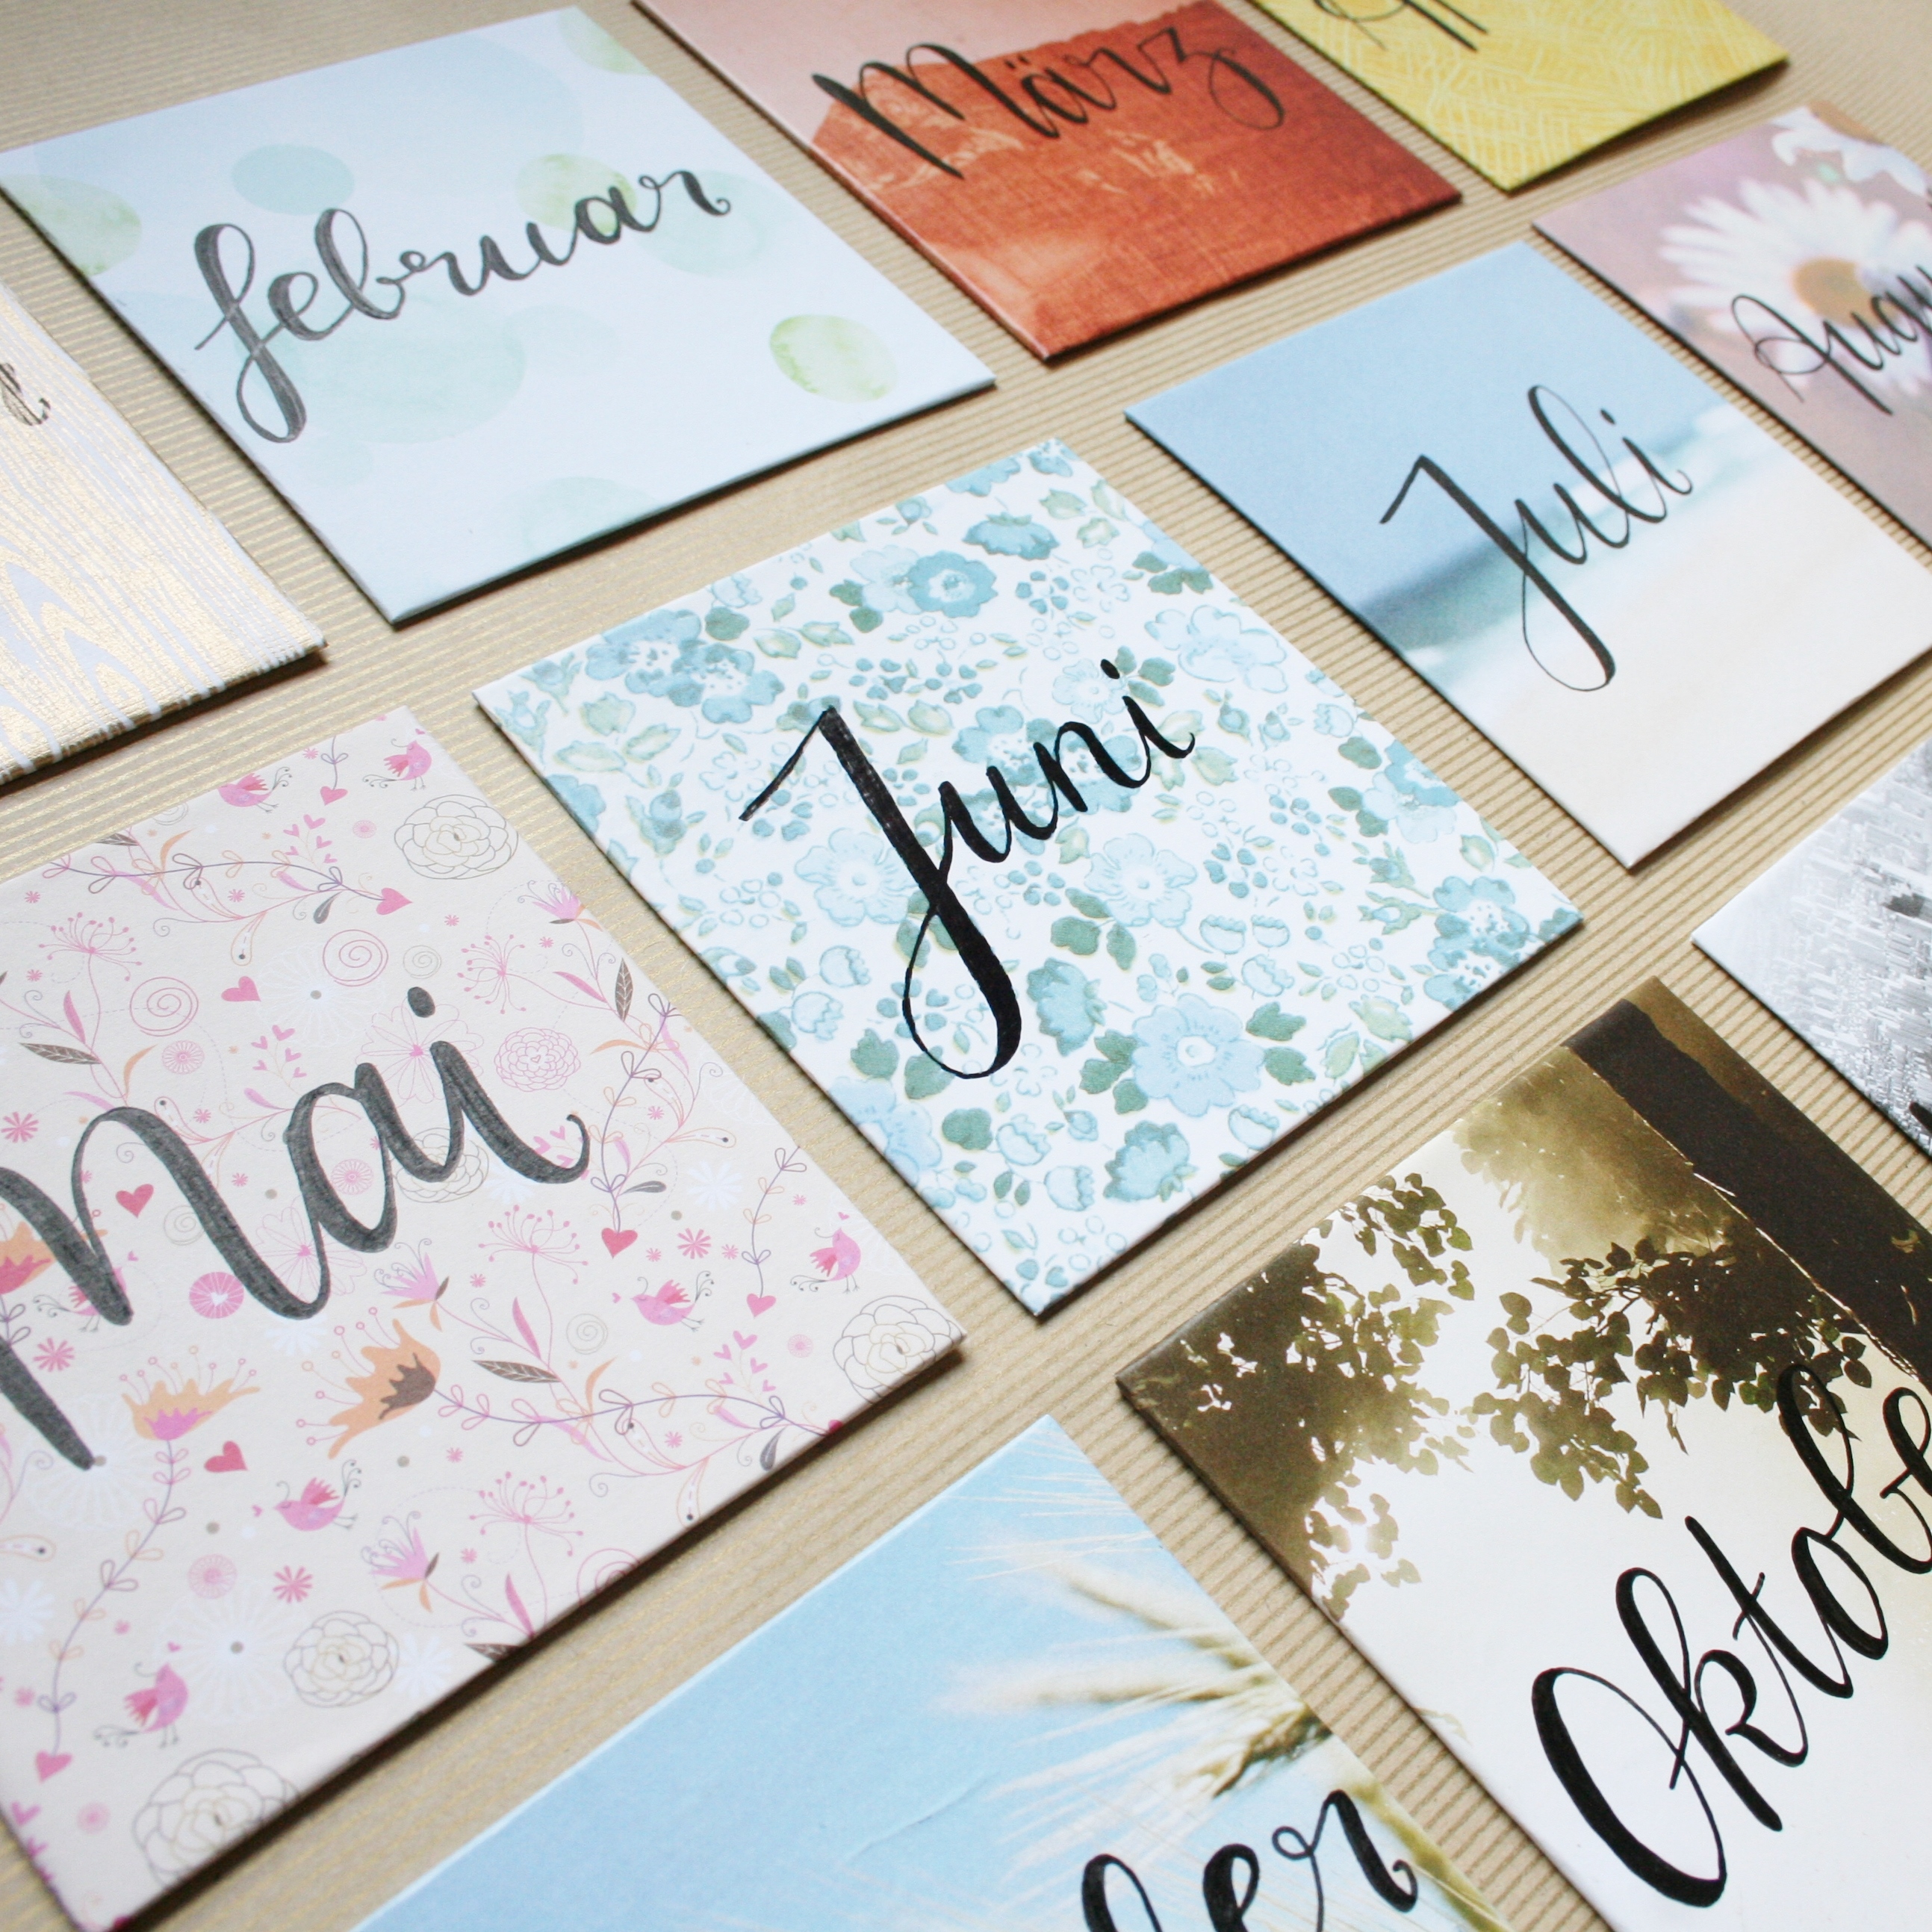
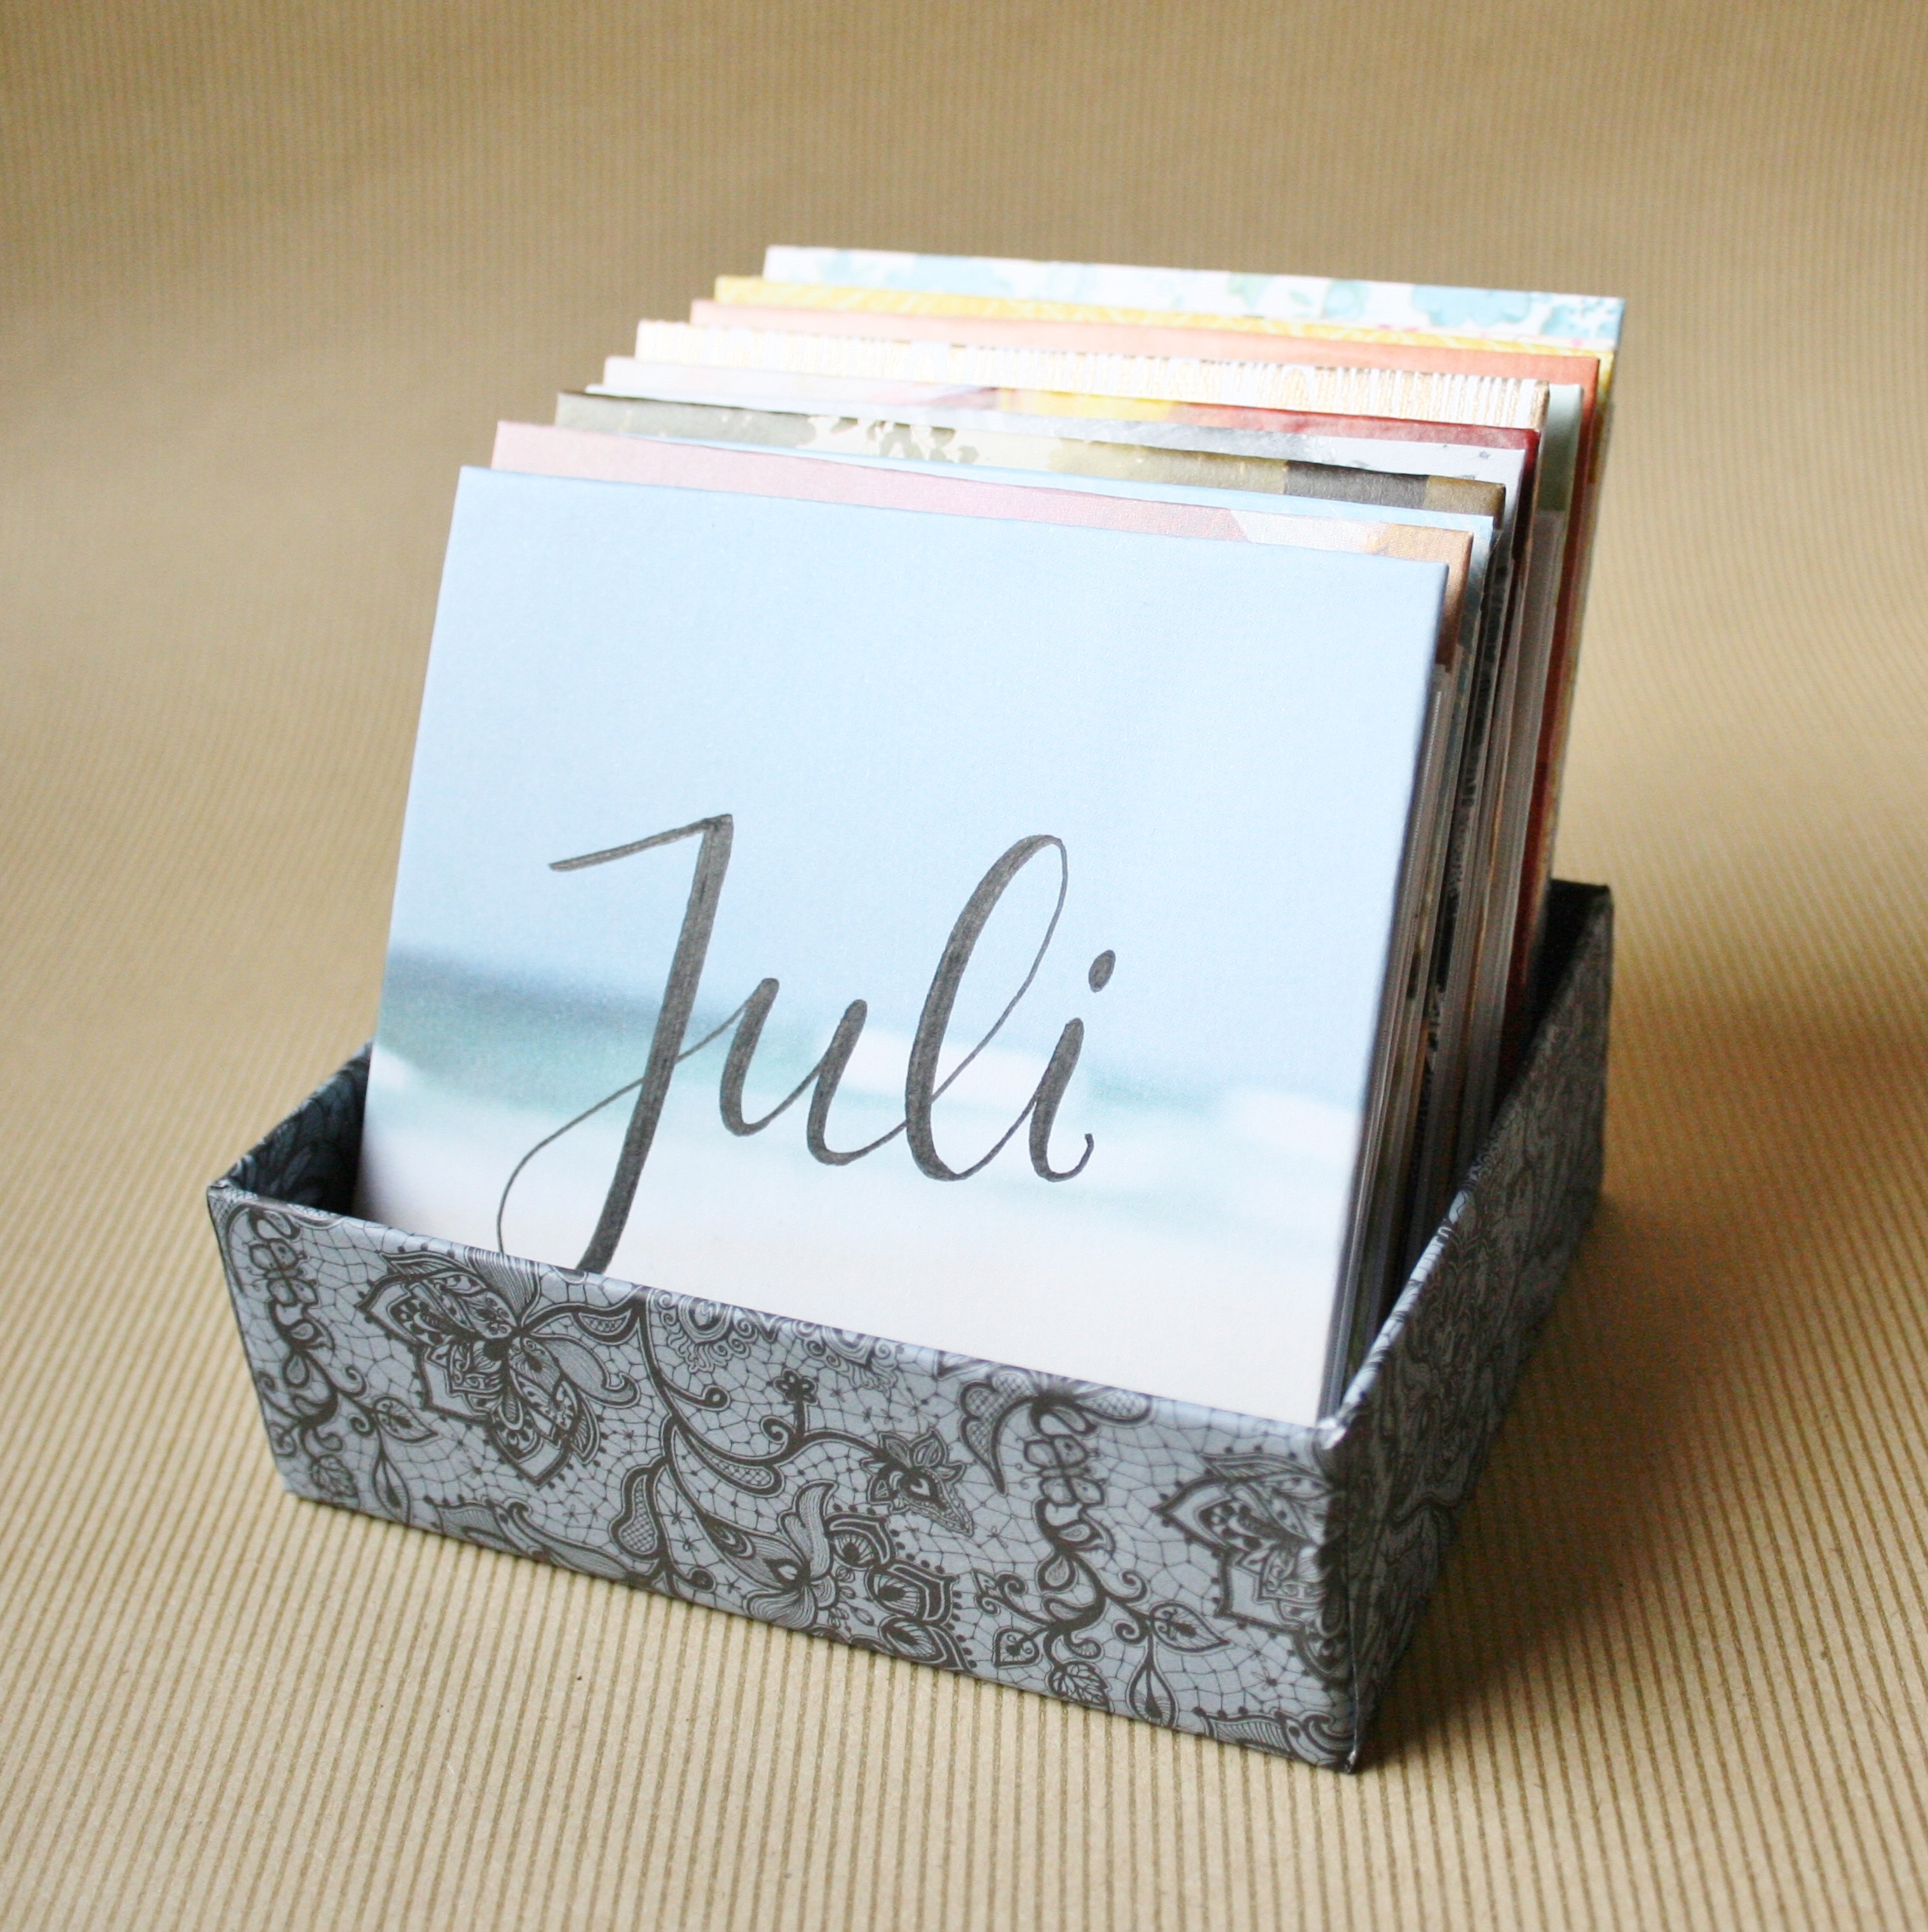
I then handlettered the months on the front of every divider (these are German words in case you’re wondering 😉 )
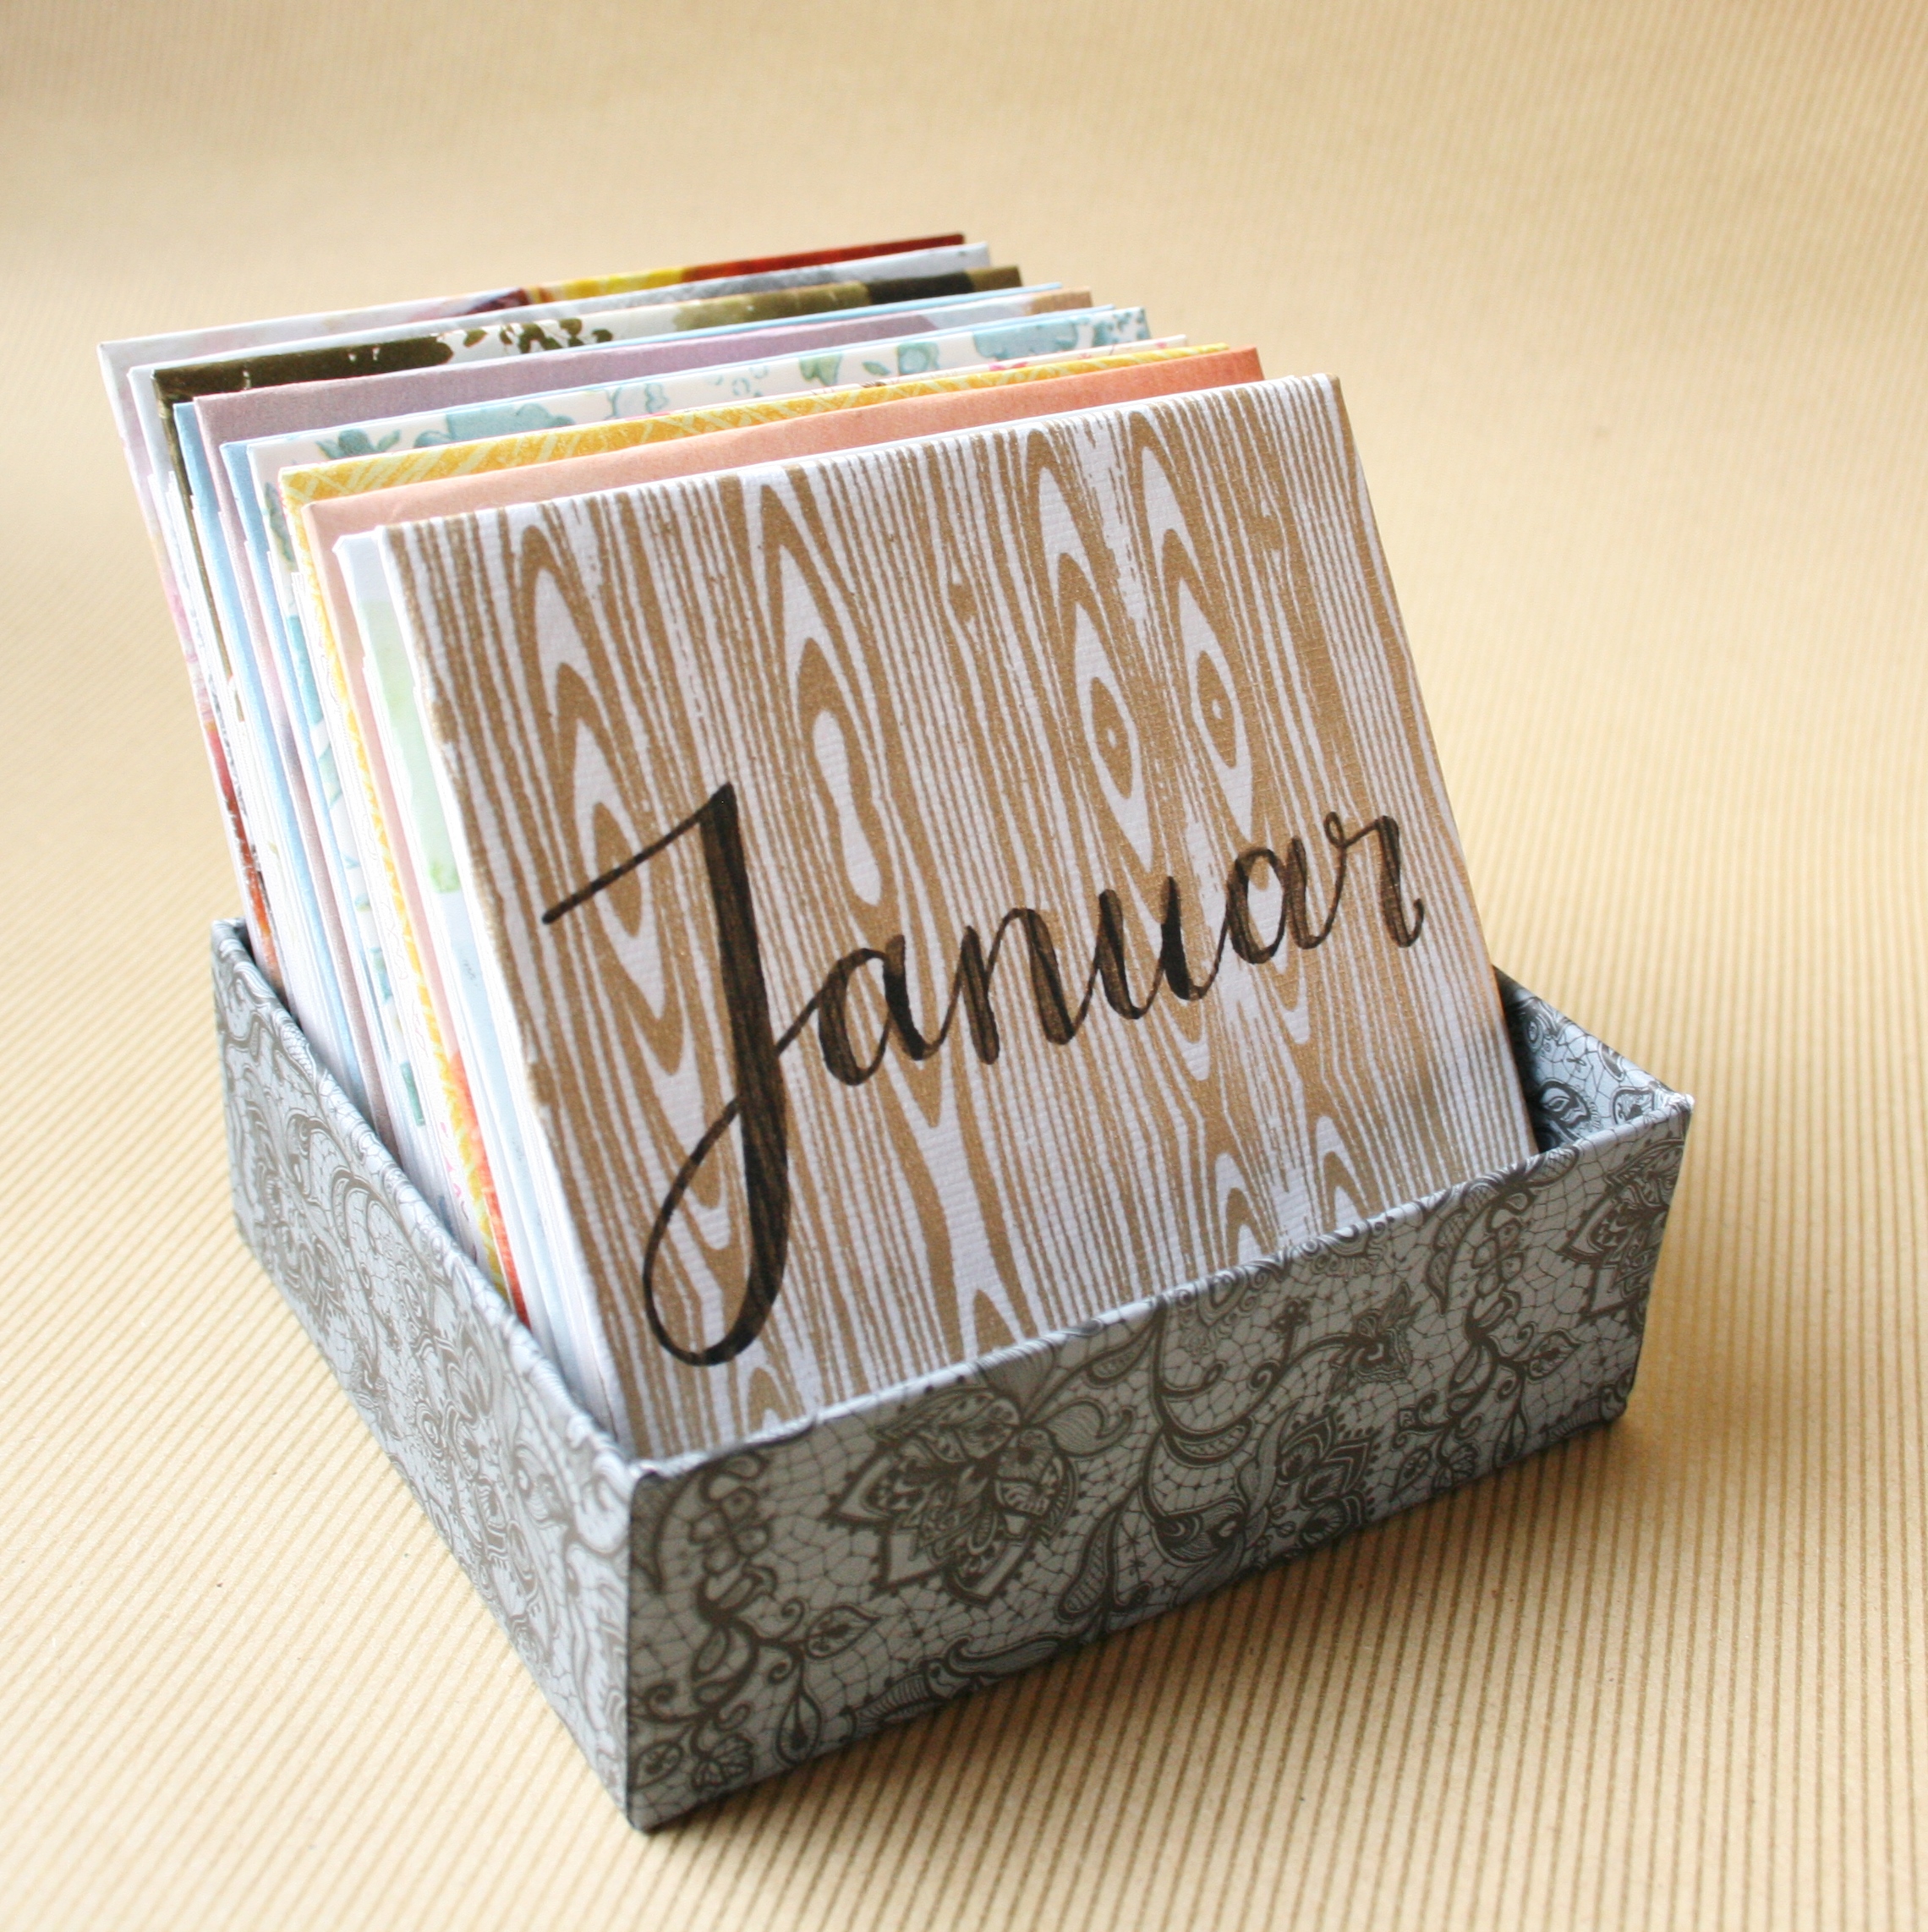
Step 5. Create a box to hold everything together. I had the base of an old cardboard gift box lying around that I altered to the size needed and then covered with scrapbook paper on the inside and outside. There’s a lot of tutorials online that show you how to cover an existing box with paper, so I didn’t take pictures of it, but it’s not too hard anyway 🙂
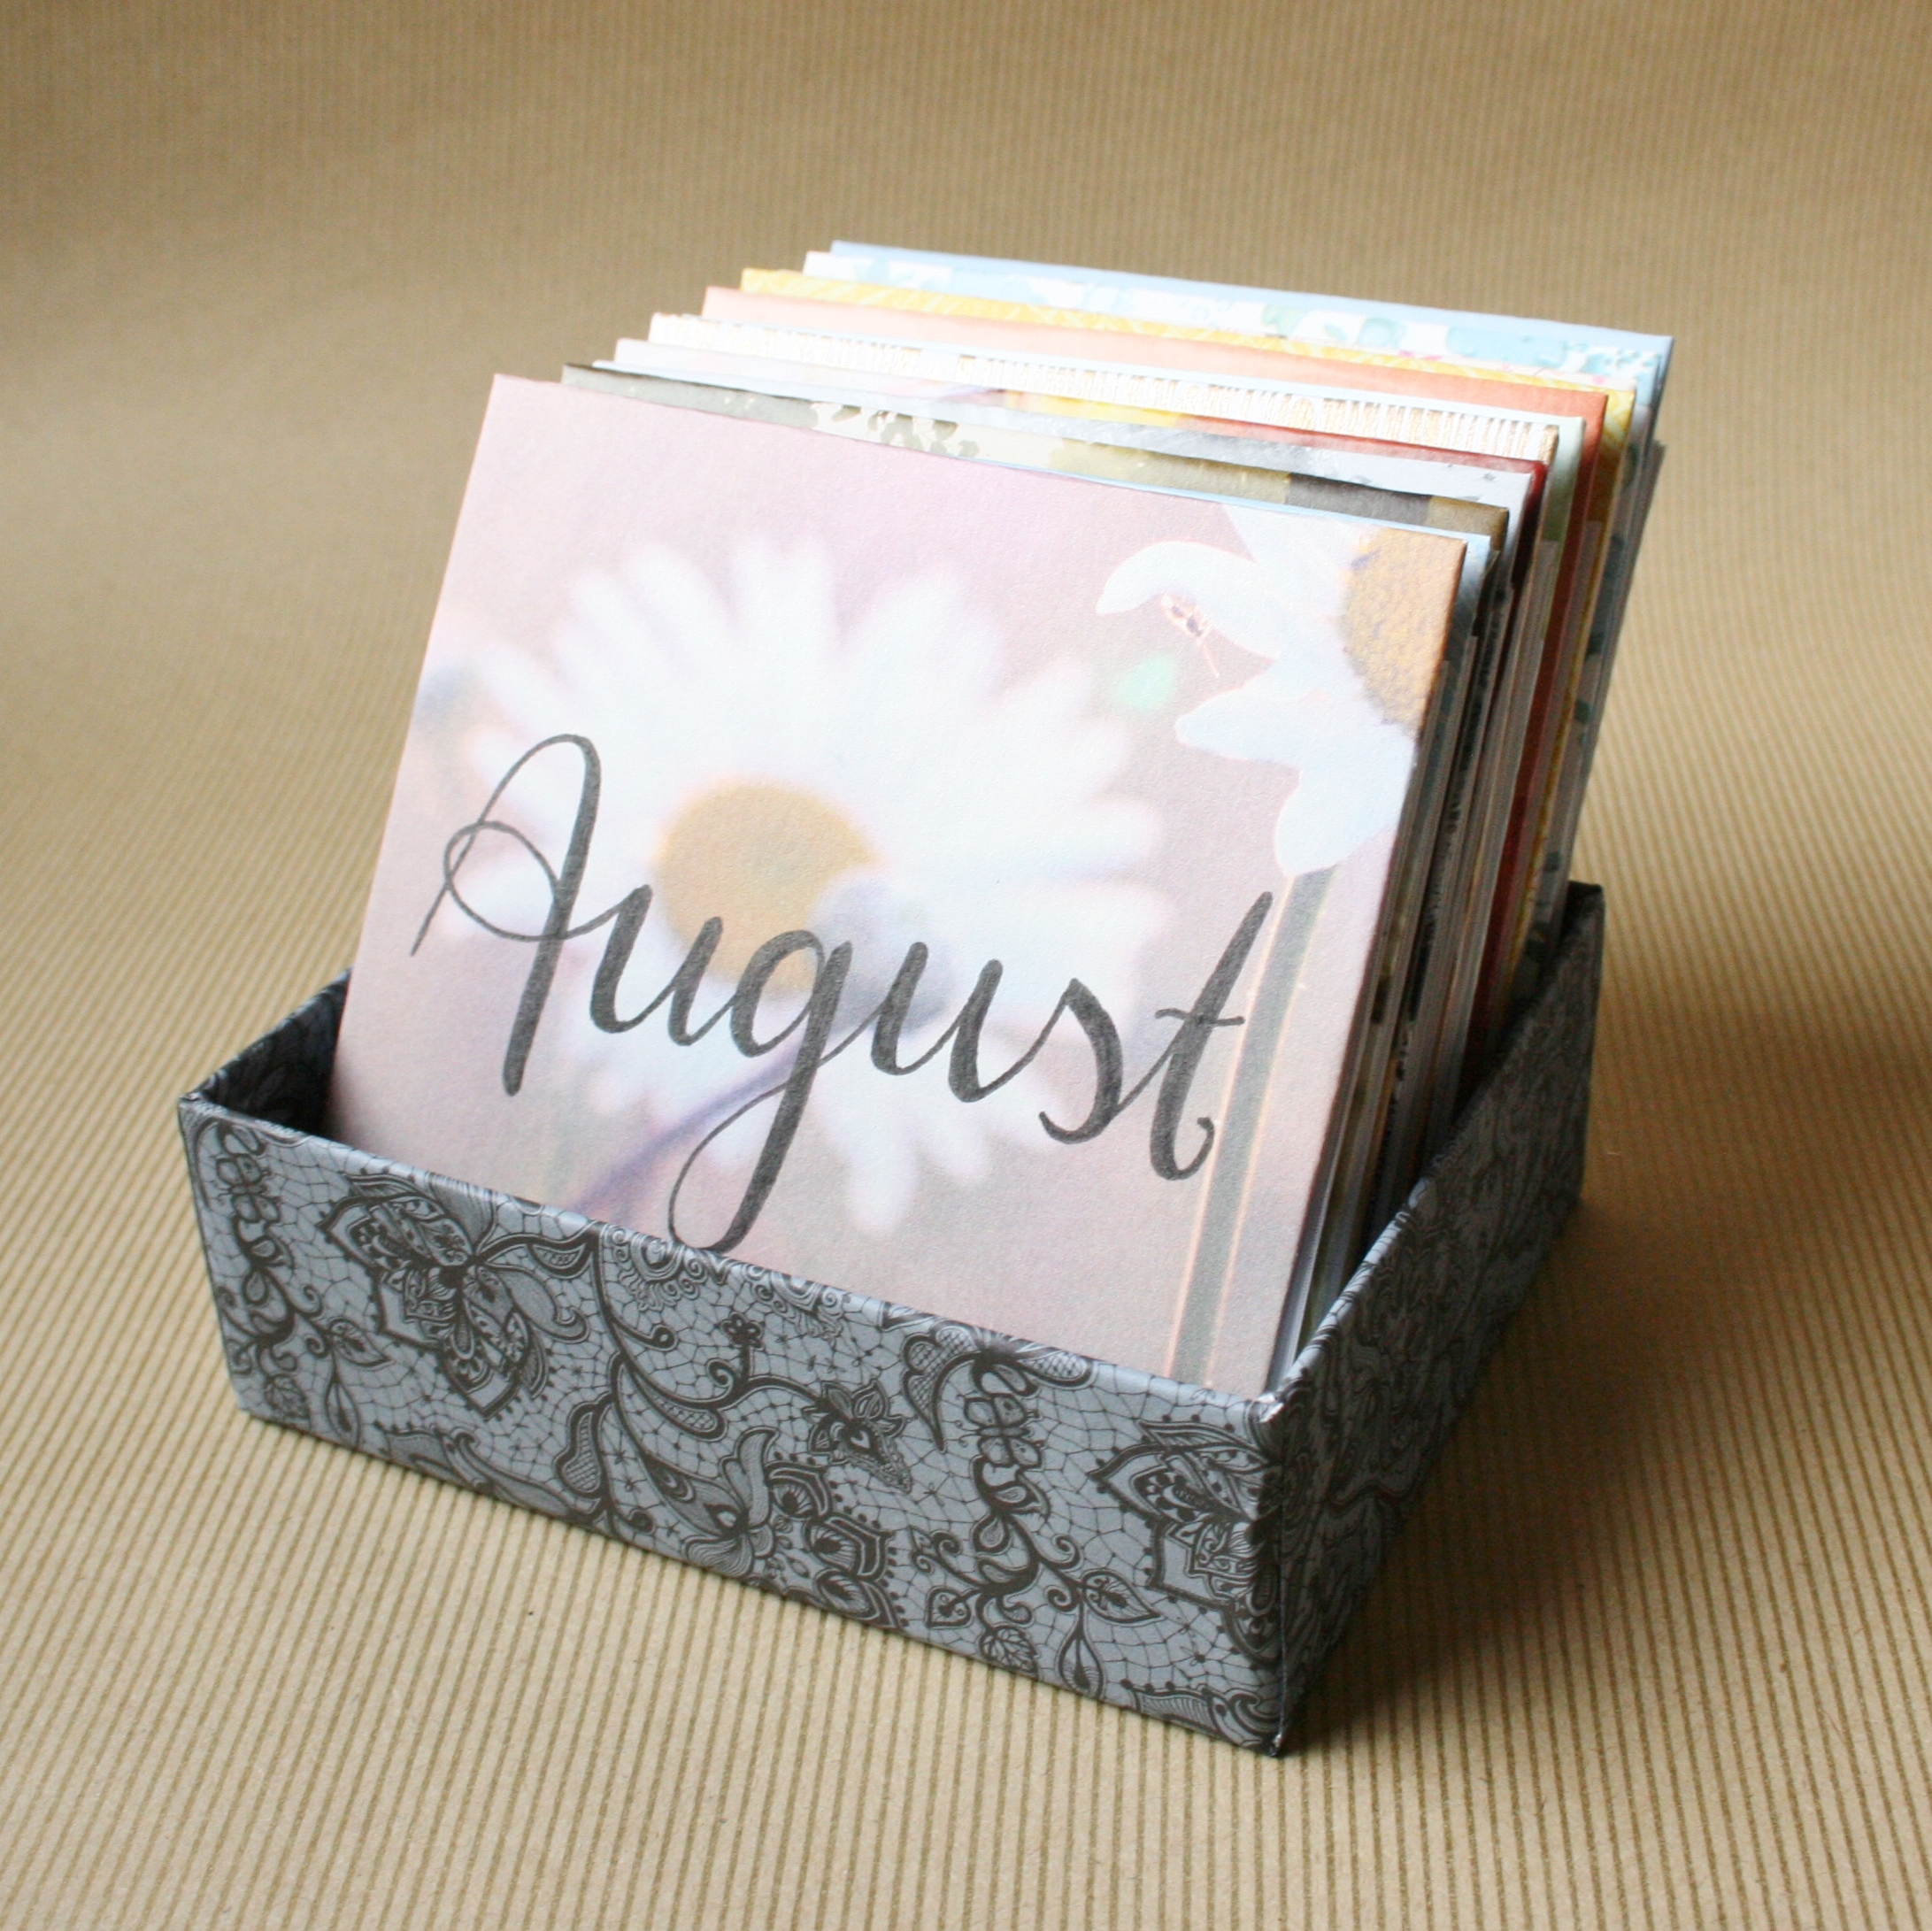
And then your handmade gratitude calendar will look a little something like this:
I also included a few extra undated sheets in the back in case I forgot a date or my mom messes up her writing or something. If you have any questions feel free to contact me!
Also, if you make this and share it on Insta, feel free to tag me @turquoise.trees so I can see it 🙂
Have a wonderful Christmas if you’re celebrating! And if you’re not celebrating, have a joyous and peaceful time anyway <3
Lena